This post may contain affiliate links. Read the full disclosure here.
If you missed, Part I, which details step-by-step setting up your self-hosted WordPress blog for the first time, click here to read it.
This post details what you need to do after you’ve installed WordPress onto your domain and are ready to start blogging! Ready?
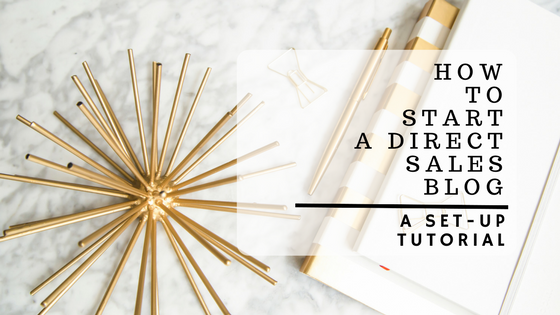
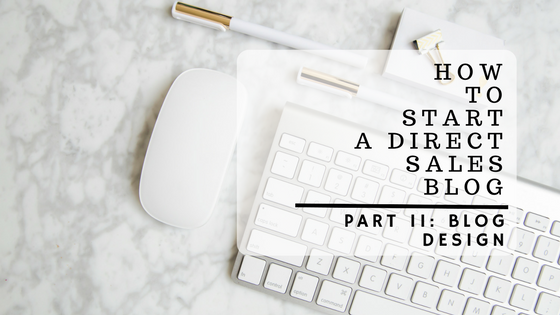
How To Start A Direct Sales Blog Part II: Designing Your Blog
Unlike the brevity of starting a blog, designing your blog will NOT take 5 minutes. In fact, this part is perpetual and ongoing.
You are always going to update, grow and better your blog, so whatever choices you make now can (and most likely will) evolve and change as you go. So, keep that in mind. Any choice you make now can be changed later.

Step One: Set Up Your Theme
First, you are going to want to choose a theme for your blog. A theme is basically how the blog is going to look and how your visitors will navigate.
In your WordPress dashboard, go to Appearance > Themes.
As you will see, there are tons of free and affordable themes available for WordPress. It all depends on you and how you want your blog to look. Choose your free theme and install it from there.
Things to keep in mind when choosing a theme:
You can also go to premium theme websites, if you so desire, and purchase a theme. I haven’t done this ever, but there are some great designers out there who have created some lovely themes for purchase!
With time, if you get bored with your blog’s appearance, you can simply change themes. This will keep your images and content in tact, however, you may have to re-tweak certain elements of your blog after switching. But, thanks to the excellent feature by WordPress, users are able to switch themes with only a few clicks.
Step Two: Install Plugins
You will also have to maintain your blog with plugins. Plugins allow mini-programs to run on your blog and help improve performance and ease for your readers. And, they are primarily free (unless you pay for premium ones).
Go to Plugins > Add New to download new ones. Here are four recommended plugins to download to get you started:
Keep in mind, this is just to get you started. There are literally hundreds of plugins that do any and everything. Add Instagram or Pinterest to a widget? There’s a plugin for that. Add Google ads to your blog? There’s a plugin for that!
Go ahead and explore. But, keep in mind…you don’t want to activate ALL of them at once. Add slowly and test because too many plugins can decrease website performance if you aren’t careful.
Step Three: Write Your First Post
When you are ready to start writing, click over to Posts > Add New
Here you will be able to create your first piece of content! You can use either the ‘Visual’ or the ‘Text’ view to write. I prefer text, because I generally don’t like WYSIWYG screens (what you see is what you get), but it’s again, up to you!
This is where you can add appropriate categories, tags, images and featured images to your post. Save it as a draft until you are ready to have it go live.
When you are ready, click “Publish”.
That’s it! You have created your first blog post!
To Your Success,